Getting Started
This section guides you through the initial set-up of the HDIQ Instrument in order to make the first measurements. This section comprises:
- A Quick Start Guide for the impatient
- Inspecting the package contents and accessories
- List of essential handling and safety instructions
- Connecting to the Instrument
Quick Start Guide
This section addresses all the people who have been impatiently awaiting their new Instrument to arrive and want to see it up and running quickly. If the HDIQ Instrument is to be integrated into a LAN with DHCP server. Please proceed along the following steps:
Note
Please use a torque wrench specified for brass core SMA (4 in-lbs, 0.5 Nm) when connecting cables to the instrument’s SMA ports. Using a standard SMA torque wrench (8 in-lbs) or a wrench without torque limit may damage the connectors.
-
Inspect the package content in Inspect the Package Contents.
-
Check the Handling and Safety Instructions in Handling and Safety Instructions.
-
For the instrument with the serial number 14100 and above, connect the instrument to a switch in the LAN using the Ethernet cable. Connect the Instrument to the power line and turn it on. The LEDs on the front panel will turn blue. The Instrument is now ready to operate. If the network does not allow multicast or doesn’t have a DHCP, please follow the steps in USB connectivity. For the instrument with the serial number below 14100, connect the 15-pin D-sub cable assembly to the digital input port of the HDIQ and a third-party digital output card. The pin assignment of the digital input port is shown in Features. The instrument will be controlled by programming the third-party digital output card.
Please note that the following steps are only for the instrument with the serial number 14100 and above.
-
Install the zhinst-hdiq Python package by the following command.
pip install zhinst-hdiqFor more information, please refer to 100 Mb Ethernet connectivity.
-
Connect and control the instrument by the following example code.
import zhinst.hdiq.utils
from zhinst.hdiq import Hdiq

hdiq_devices = zhinst.hdiq.utils.discover_devices()
print(f'Found devices: {hdiq_devices}')
hdiq_serial, hdiq_ip = hdiq_devices[0]
print(f'Connecting to {hdiq_serial} (IP: {hdiq_ip})')
hdiq = Hdiq(hdiq_ip)
channel = 1                          # HDIQ channel 1
hdiq.set_rf_to_calib(channel)        # calibration mode, set RF to Calib. port
# hdiq.set_rf_to_exp(channel)             # RF mode, set RF to Exp. port
# hdiq.set_lo_to_exp(channel)             # LO mode, set LO to Exp. port
status = hdiq.get_channel_status(channel) # get status of channel 1
print(f'channel {channel} -> {status}')
For more information, please refer to https://pypi.org/project/zhinst-hdiq/ or https://github.com/zhinst/zhinst-hdiq.
Inspect the Package Contents
If the shipping container appears to be damaged, keep the container until you have inspected the contents of the shipment and have performed basic functional tests.
Please verify:
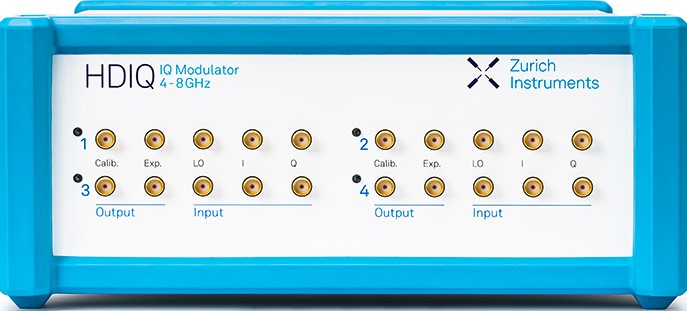
- You have received 1 Zurich Instruments HDIQ Instrument
- You have received 1 AC/DC power adapter
- You have received 1 power cord with a power plug suited to your country
- You have received 1 grounding cable with 4 mm plugs. This is only for the instrument with the serial number 14100 and above.
- You have received 1 15-pin D-sub cable assembly. This is only for the instrument with the serial number below 14100.
- You have received 1 LAN cable (category 5/6 required). This is only for the instrument with the serial number 14100 and above.
- The serial number of the instrument is displayed on a sticker on the back panel.
- A printed version of the "HDIQ IQ Modulator" chapter, the "Declaration of Conformity" section and the "Getting Started" section are included.
 |
|
|---|---|
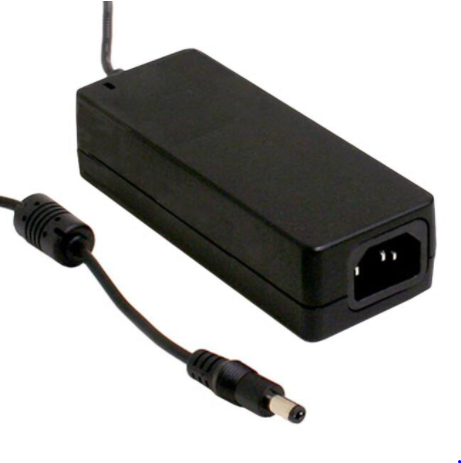 |
AC/DC power adapter |
 |
Power cord (example: EU norm) |
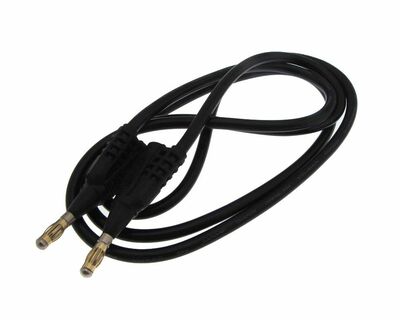 |
Grounding cable with 4 mm plugs |
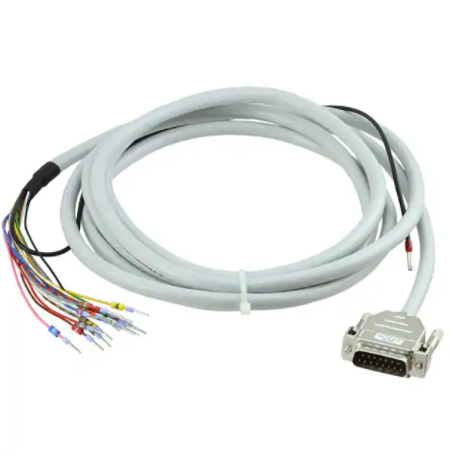 |
15-pin D-sub cable assembly |
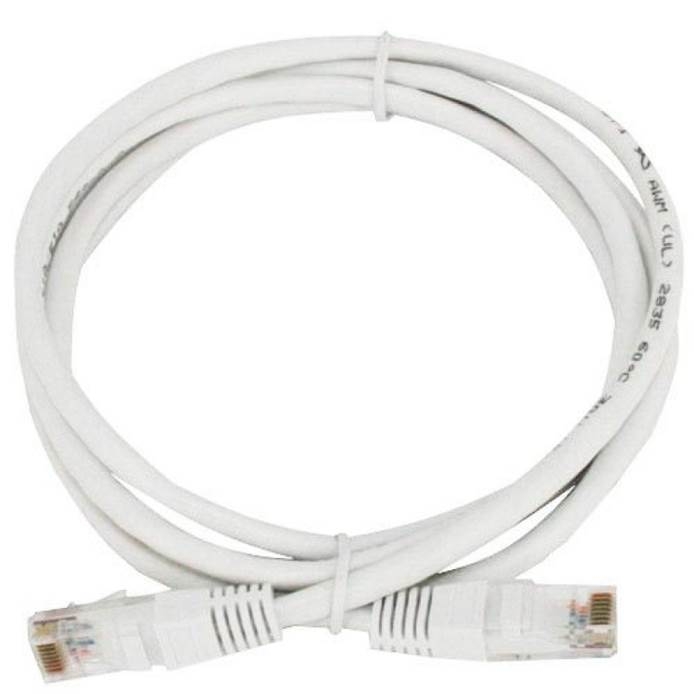 |
The LAN/Ethernet cable (category 5/6 required) |
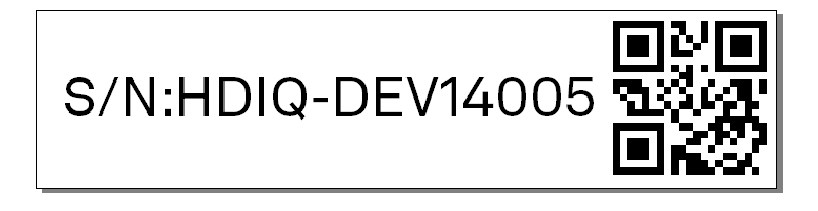 |
S/N sticker on the back panel of the instrument |
The HDIQ Instrument can be connected to most power systems in the world by using the enclosed AC/DC power adapter.
Carefully inspect your Instrument. If there is mechanical damage, then you should immediately notify the Zurich Instruments support team at support@zhinst.com.
Handling and Safety Instructions
The HDIQ Instrument is a sensitive piece of electronic equipment, which under no circumstances should be opened. There are no serviceable parts inside the instrument. Do not install substitute parts or perform any unauthorized modification to the product. Opening the instrument immediately cancels the warranty provided by Zurich Instruments.
Do not use this product in any manner not specified by the manufacturer. The protective features of this product may be affected if it is used in a way not specified in the operating instructions.
The following general safety instructions must be observed during all phases of operation, service, and handling of the instrument. The disregard of these precautions and all specific warnings elsewhere in this manual may affect correct operation of the equipment and its lifetime.
Zurich Instruments assumes no liability for the user’s failure to observe and comply with the instructions in this user manual.
| Maximum ratings | The specified electrical ratings for the connectors of the instrument should not be exceeded at any time during operation. Please refer to Features for a comprehensive list of ratings. |
| Do not service or adjust anything yourself | There are no serviceable parts inside the Instrument. |
| Warnings | Instructions contained in any warning issued by the instrument, either by the software, notes on the instrument or mentioned in this manual must be followed. |
| Notes | Instructions contained in the notes of this user manual are of essential importance for the correct interpretation of the acquired measurement data. |
| High voltage transients due to inductive loads | When measuring devices with high inductance, take adequate measures to protect the Signal Input connectors against the high voltages of inductive load switching transients. These voltages can exceed the maximum voltage ratings of the Signal Inputs and lead to damage. |
| Location and ventilation | This instrument or system is intended for indoor use in an installation category I and pollution degree 2 environment as per IEC 61010-1. Do not operate or store the instrument outside the ambient conditions specified in Features. |
| Cleaning | To prevent electrical shock, disconnect the instrument from power supply and disconnect all test leads before cleaning. Clean the outside of the instrument using a soft, lint-free, cloth slightly dampened with water. Do not use detergent or solvents. Do not attempt to clean internally. |
| Main power disconnect | Unplug product from power supply and remove power cord before servicing. Only qualified, service-trained personnel should remove the cover from the instrument. |
| Operation and storage | Do not operate or store at the instrument outside the ambient conditions specified in Features. |
| Handling | Do not drop the Instrument, handle with due care, do not store liquids on the device as there is a chance of spilling and damage. |
| Safety critical systems | Do not use this equipment in systems whose failure could result in loss of life, significant property damage or damage to the environment. |
When you notice any of the situations listed below, immediately stop the operation of the Instrument, disconnect the power cord, and contact the support team at Zurich Instruments, either through the website form or by email at support@zhinst.com.
| Power cord or power plug on instrument is damaged | Switch off the Instrument immediately to prevent overheating, electric shock, or fire. Please exchange the power only with a power cord specified for this product and certified for the country of use. |
| Instrument emits abnormal noise, smell, or sparks | Switch off the Instrument immediately to prevent large damage. |
| Instrument is damaged | Switch off the Instrument immediately and secure it against unintended operation. |
 |
Earth ground |
 |
Chassis ground |
Connecting to the Instrument
The Zurich Instruments HDIQ is designed to work out of the box with a minimal effort on the part of the users. The default operating mode of HDIQ is the RF mode (RF signal after the IQ mixer in Exp. port) without any external control sources after it powered on. To change to other operating modes, a connection between the instrument and a host computer must to be established via either the digital input port with a third-party digital output card or the 100 Mb Ethernet port of the instrument. The USB port of the instrument is only for setting up and configuring the instrument, and for maintenance. Please note that the Ethernet port and the USB port are available only for the instrument with the serial number 14100 and above. Please do not use more than one type of connection to control the Instrument in the same time.
Digital Input
The digital input port of the HDIQ is used to control its operating mode via a third-party digital output card with a current of at least 5mA per channel. For example, USB-6501 from National Instruments is capable to control up to 2 HDIQs limited by the maximum output current. With the 15-pin D-sub cable assembly (available as an accessory), a third-party DIO card can be easily connected to the digital input port on the back panel of the Instrument. Python example controlling a USB-6501 DIO card to switch operating modes is available upon request from support@zhinst.com. Please find the detailed information of the digital input port in this figure and table.
100 Mb Ethernet connectivity
There are two methods to connect the instrument via 100 Mb Ethernet:
- DHCP
- Static Device IP
DHCP is the simplest and preferred connection method. Other connection methods can become necessary when using network configurations that conflict with local policies. A Python example codes is provided according different methods. Please install the Python package zhinst-hdiq with the following command before running the example codes.
pip install zhinst-hdiq
The package is compatible with Python 3.6 and above.
DHCP
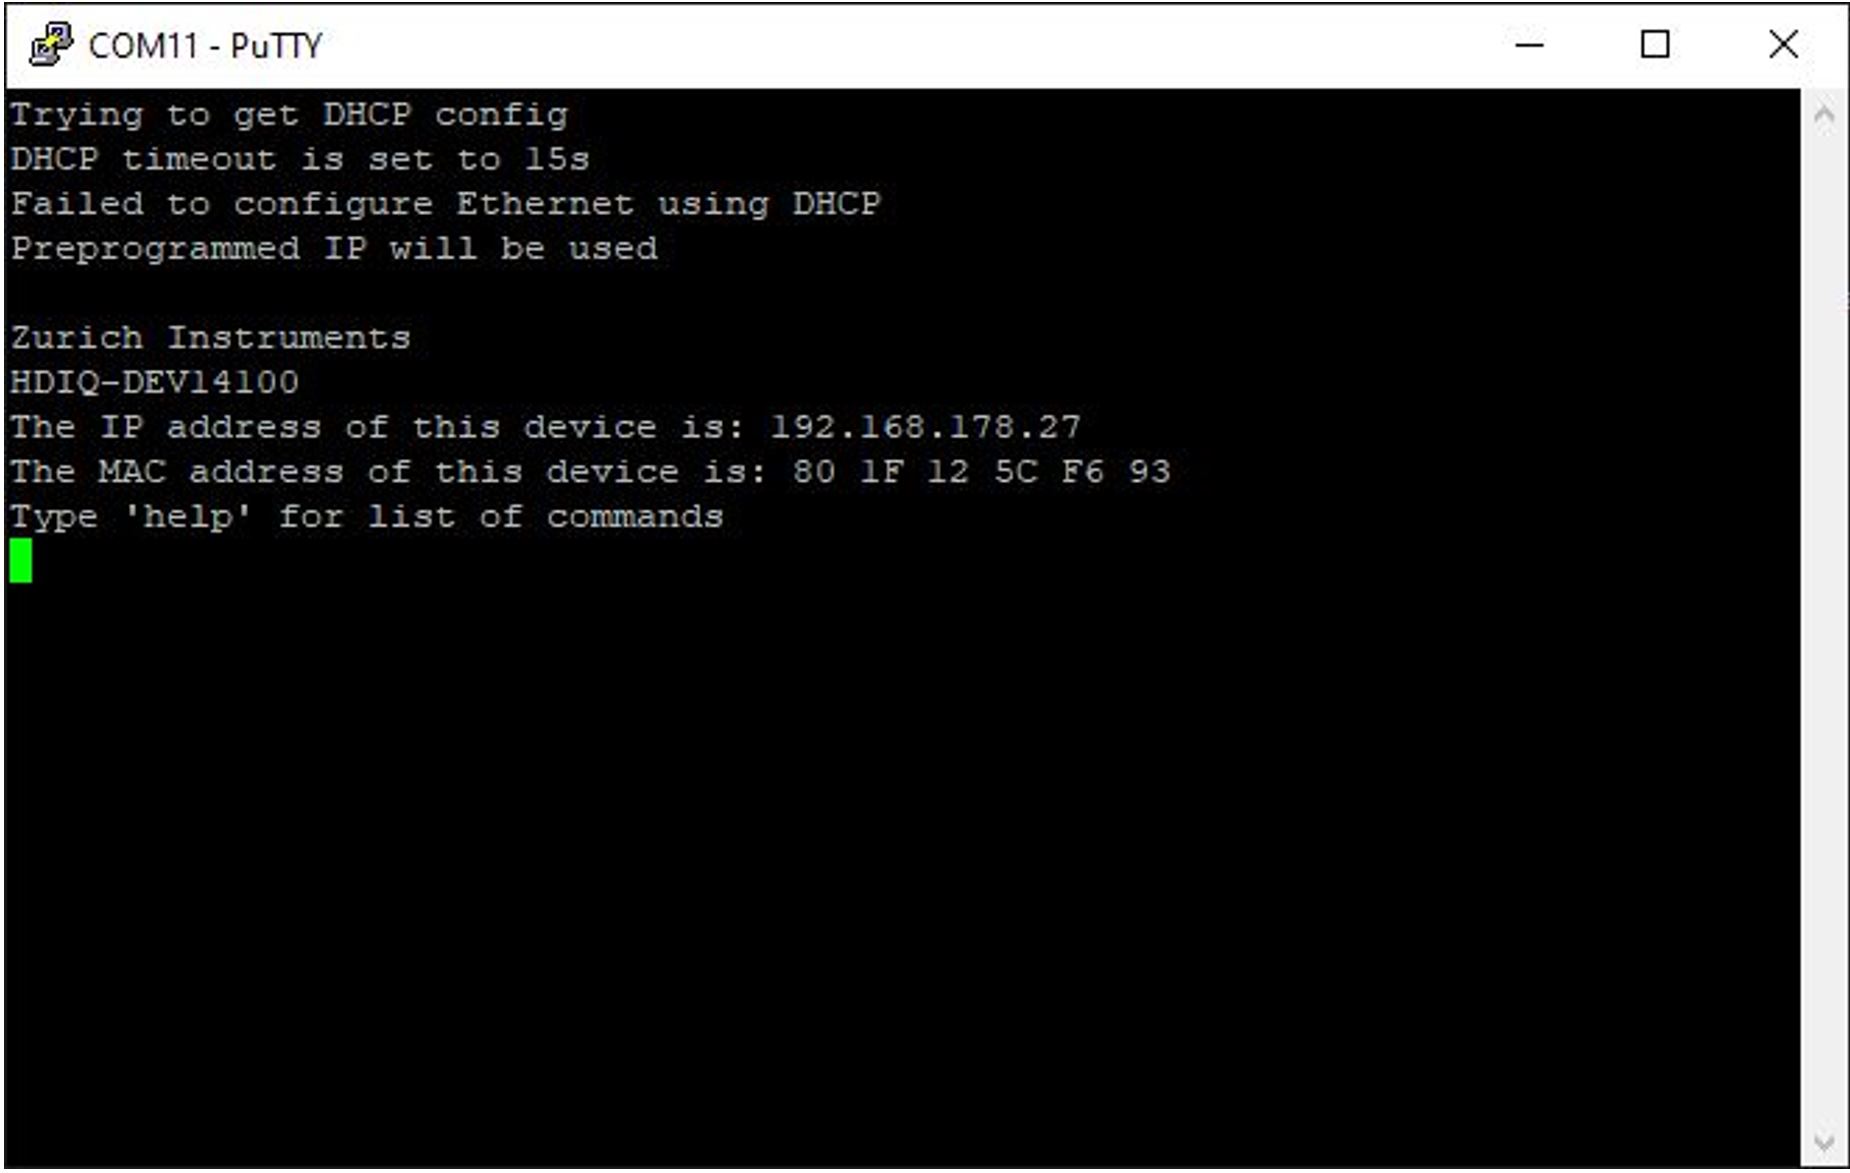
The internet protocol suit of the instrument is UDP (User Datagram Protocol). The most straightforward connection method of UDP is relying on a network configuration to recognize the instrument. When connecting the instrument to a LAN, the DHCP server will assign an IP address to the instrument. If the network configuration does not support DHCP, or if the host computer has other network cards installed, it is necessary to set up a static IP address as described in USB connectivity. The instrument is configured to accept the IP address from the DHCP server, or to fall back to a preprogrammed IP address 192.168.178.27 if it does not get the address from the DHCP server. The Instrument can also be accessed by its hostname which consists of its serial number if there is a DNS present, e.g., HDIQ-DEV14100.
The following example shows how to connect the HDIQ and set the operating mode of channel 1 using the zhinst-hdiq package.
import zhinst.hdiq.utils
from zhinst.hdiq import Hdiq

hdiq_devices = zhinst.hdiq.utils.discover_devices()
print(f'Found devices: {hdiq_devices}')
hdiq_serial, hdiq_ip = hdiq_devices[0]
print(f'Connecting to {hdiq_serial} (IP: {hdiq_ip})')
hdiq = Hdiq(hdiq_ip)
channel = 1                               # HDIQ channel 1
hdiq.set_rf_to_calib(channel)             # calibration mode, set RF to Calib. port
## hdiq.set_rf_to_exp(channel)             # RF mode, set RF to Exp. port
## hdiq.set_lo_to_exp(channel)             # LO mode, set LO to Exp. port
status = hdiq.get_channel_status(channel) # get status of channel 1
print(f'channel {channel} -> {status}')
For more information, please refer to https://pypi.org/project/zhinst-hdiq/ or https://github.com/zhinst/zhinst-hdiq.
Please note that the control of the HDIQ Instrument can also be implemented in any environment which supports sending UDP packets to port 4242 without using the zhinst-hdiq package.
Static device IP
Static device IP configuration can be necessary If DHCP is not available in the LAN or the instrument must be accessible at a fixed IP address. The preprogrammed IP address of all HDIQs is 192.168.178.27, which can be used if there is only 1 HDIQ in use, otherwise different static IP addresses are required.
A command setNewIP via a USB connection can be used to set a new IP
address. This is detailed in the next section.
USB connectivity
The USB port cannot be used to control the operating mode of the Instrument. It is intended to set up and configure the instrument, and for maintenance.
Setting up a custom IP Address
A new IP address can be set by the following steps.
- Connect the USB cable from the instrument to a host computer, and wait for the VCP (Virtual Com Port) driver to initialize the HDIQ instrument. The driver has to be updated if it fails to initialize the Instrument. The driver is available at https://www.ftdichip.com/Drivers/VCP.htm
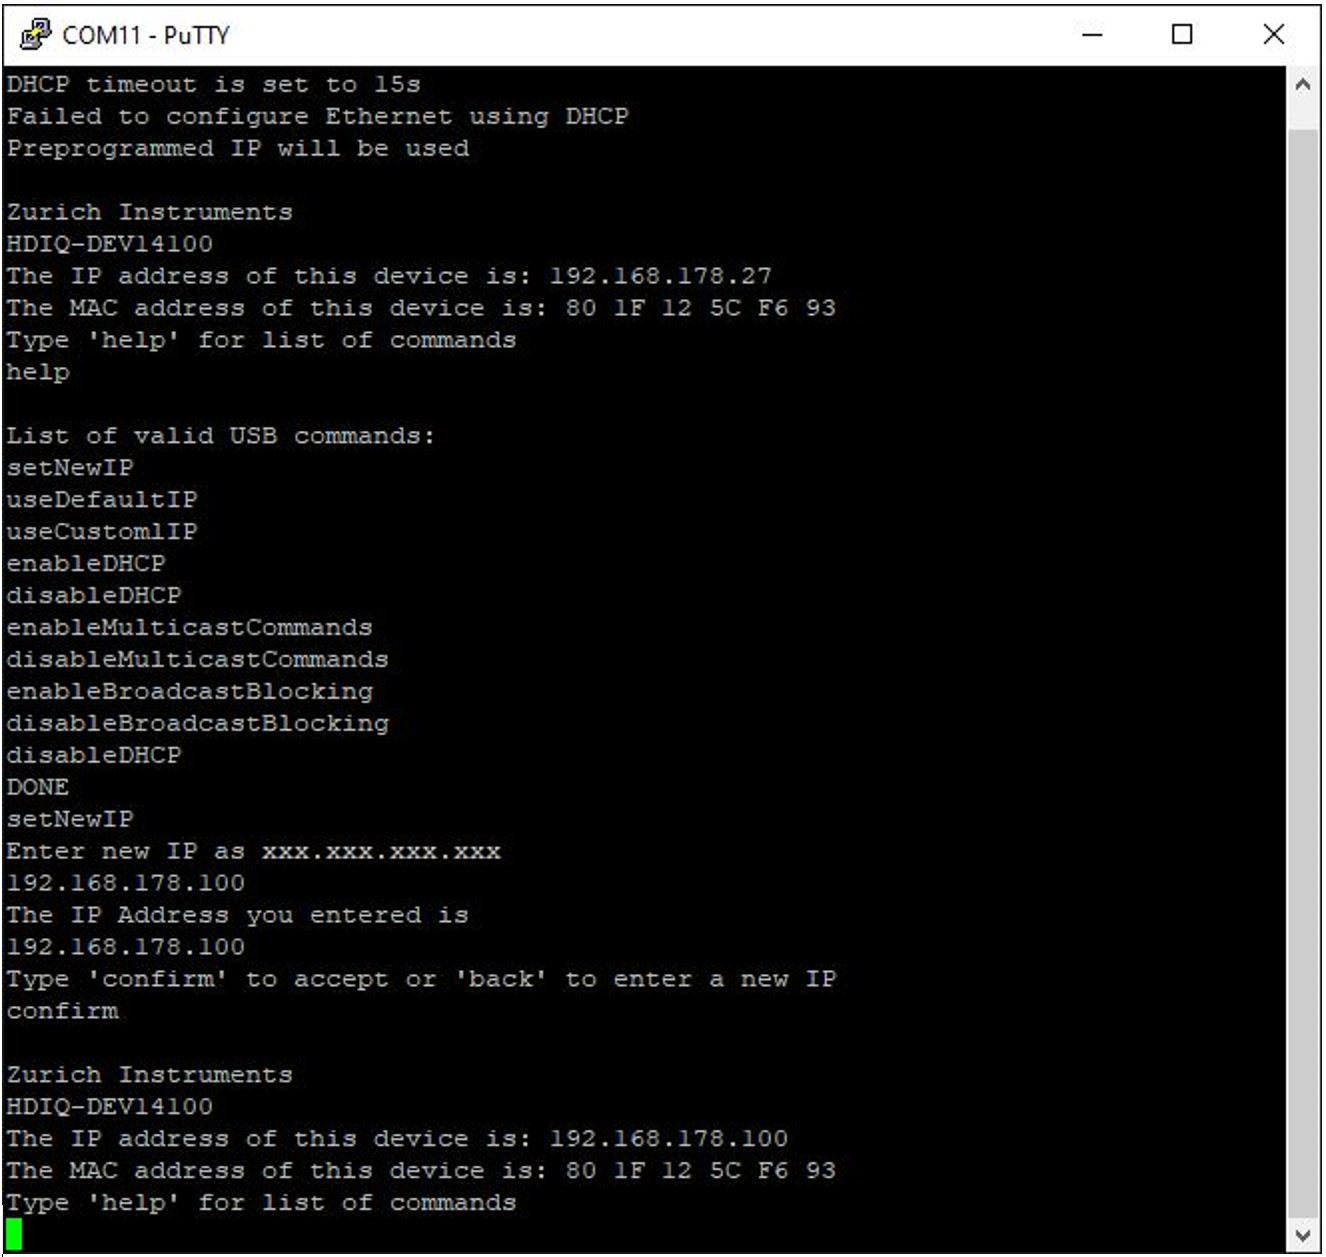
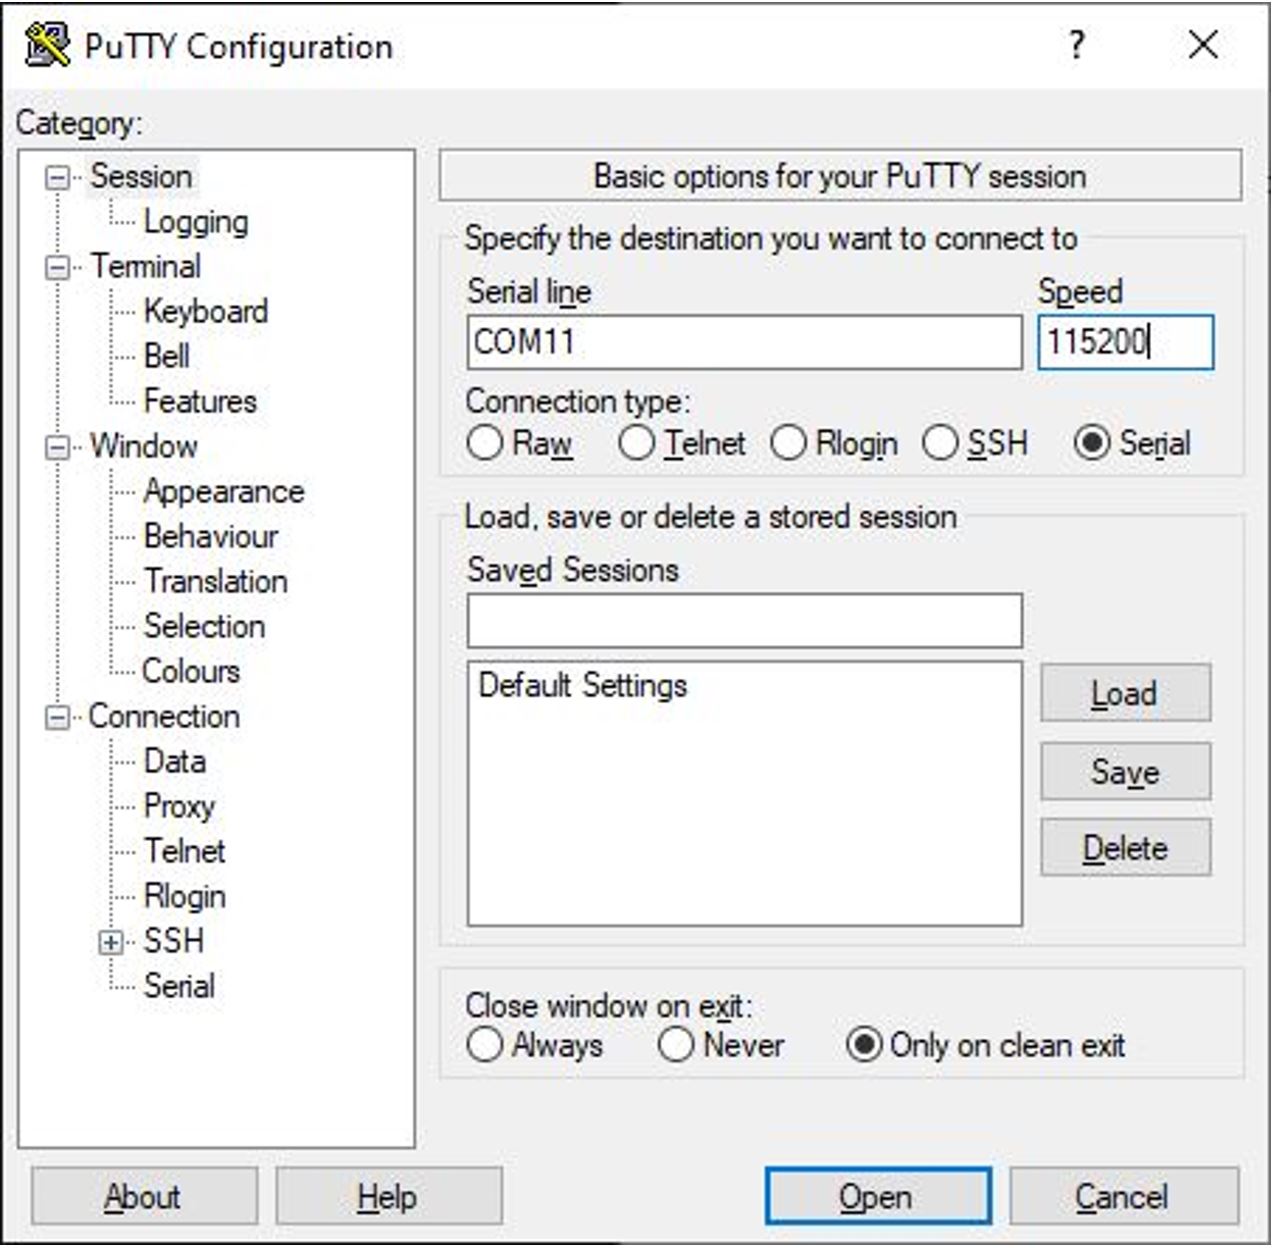
- Open the COM port (serial terminal) where your device is located. Depending on the operating system of your computer you can use PuTTY on Windows/Linux or Minicom on MacOS/Linux with a baud rate of 115200.
- Disable DHCP by entering
disableDHCPon the opened PuTTY window. If a static IP is preferred the DHCP must be disabled - Set a new IP address by using
setNewIP, and followed by a new IP address, e.g., "192.168.178.100". - Confirm the new IP address by typing "confirm". The Instrument will be automatically restarted and initialized with the new IP address.