Connecting to the Instrument
Note
This tutorial is applicable to all SHFQA Instruments.
Goals and Requirements
The goal of tutorial is to demonstrate how to connect the SHFQA to a host computer and how to configure it in general via Zurich Instruments Toolkit API.
Note
For zhinst-toolkit users, see programming examples in https://github.com/zhinst/zhinst-toolkit/tree/main/examples, and the zhinst-toolkit documentation.
For LabOne Q users, see programming examples in https://github.com/zhinst/laboneq/tree/main/examples, and the LabOne Q User Manual.
Preparation
Please follow these preparation steps before starting the tutorial:
- download and install the latest LabOne software from the Zurich Instruments Download Center,
-
connect the SHFQA+ to the power outlet. Turn it on and connect it to a local area network (LAN) where the host computer resides via Ethernet (recommended) or to the host computer via USB,
-
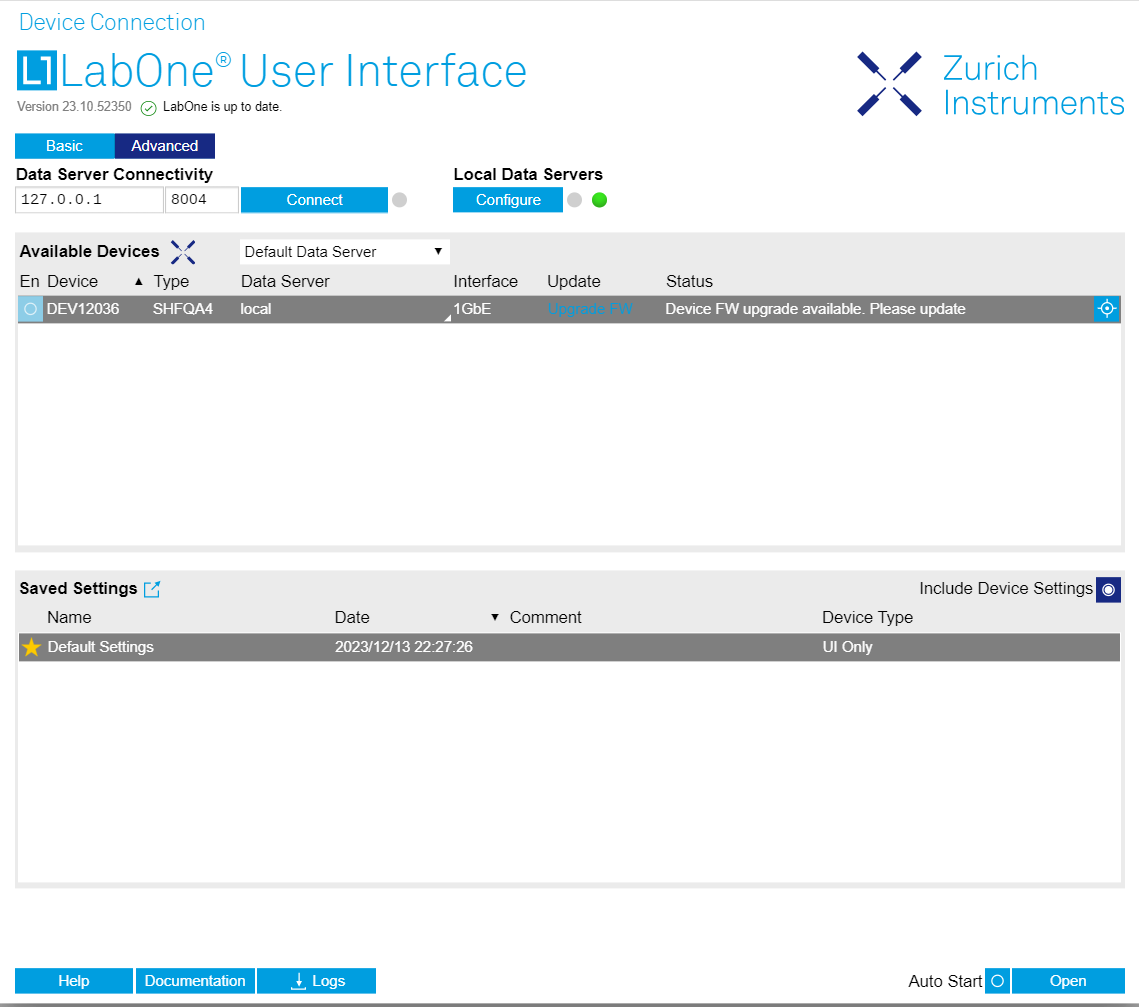
start the LabOne UI from the Windows Start Menu, and upgrade the firmware of the SHFQA+ as shown below,
- install python packages (> 3.7) and the latest
zhinstpackage (pip install zhinst) which includes LabOne Core API package (zhinst.core), Utility package (zhinst.utils) and LabOne Toolkit API package (zhinst.toolkit) .
Warning
When connecting cables to the Instrument’s SMA ports, use a torque wrench specified for brass core SMA (4 in-lbs, 0.5 Nm). Using a standard SMA torque wrench (8 in-lbs) or a wrench without torque limit or can break the connectors.
Tutorial
Connecting to the instrument
Create a session with the Zurich Instruments Toolkit Session and connect to the
instrument using the following code by replacing DEVXXXXX with the instrument ID, e.g. DEV12001:
## Load the LabOne API and other necessary packages
from zhinst.toolkit import Session

DEVICE_ID = 'DEVXXXXX'
SERVER_HOST = 'localhost'

session = Session(SERVER_HOST)              ## connect to data server
device = session.connect_device(DEVICE_ID)  ## connect to device
Defining the data server allows users to connect to the instrument in
the local network when using localhost or to specify a specific
address, for example when a remote connection needs to be established to
the instrument. For a remote
connection,
Connectivity needs to be set From Everywhere.
After successfully running the above code snippet, check whether the Data Server, instrument firmware, and zhinst versions are compatible with each other:
device.check_compatibility()
If it returns an error, resolve the mismatched components identified in the error message.
Configure the instrument
All parameters can be configured using zhinst-toolkit by instrument nodes, see Node Documentation.
From instrument node to zhinst-toolkit command is one to one mapping, e.g. node /dev12036/qachannels/0/outcenterfreq/5e9 to zhinst-toolkit command device.qachannels[0].centerfreq(5e9), see Zhinst Instruments Toolkit Node Tree and Quick start. Instrument notes can also be found in tooltips when the mouse
cursor stays on control icons and in API codes on the bottom of the
LabOne User Interface after parameter updates.

Apart from one to one mapping of instrument nodes and Data Server connection zhinst-toolkit also provides instrument and module specific functions and common functions. The instrument and module specific functions are used and explained in other tutorials. The common functions include 3 functions.
check_compatibility: Checks the compatibility of zhinst-utils package, zhinst-core package, LabOne Data Server version, and firmware revision of the instrument.
set_transaction: Bundle multiple set commands to different nodes into a single message to the data server. Note that only the last value is set if the same node is configured multiple times.
factory_reset: Reset a device to the factory settings.
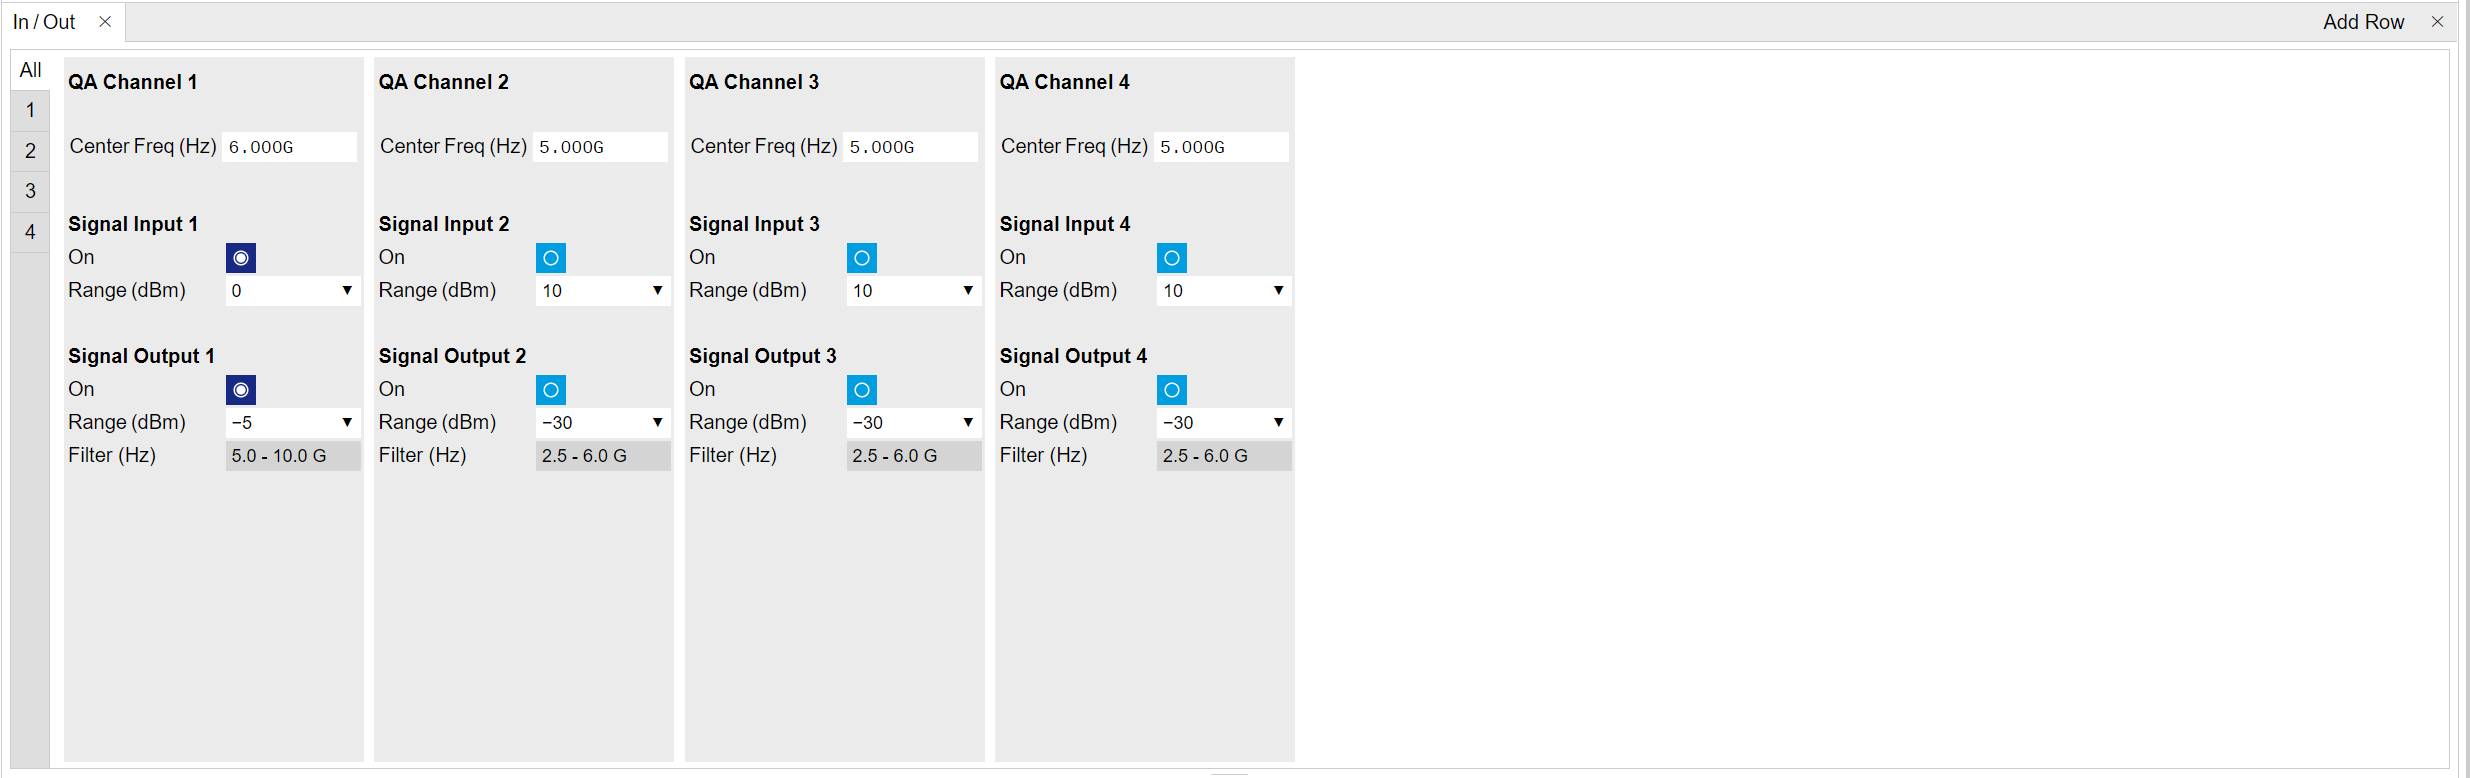
Below is an example using set_transaction function and instrument nodes to configure the input and output. The physical Channel 1 is configured as center frequency of 6 GHz,
input power range of 0 dBm, output power range of -5 dBm and both
input and output are enabled.
CHANNEL_INDEX = 0 # phyiscal Channel 1

with device.set_transaction():
    device.qachannels[CHANNEL_INDEX].centerfreq(6e9)    # in units of Hz
    device.qachannels[CHANNEL_INDEX].input.range(0)     # in units of dBm
    device.qachannels[CHANNEL_INDEX].output.range(-5)   # in units of dBm
    device.qachannels[CHANNEL_INDEX].input.on(1)        # enable input
    device.qachannels[CHANNEL_INDEX].output.on(1)       # enable output